Create an access token using an Application
Access to the Airbyte API is available by creating an access token through the UI.
If you're looking for information on the API keys from portal.airbyte.com, please see this page: portal.airbyte.com deprecation
To create an Application, you must have access to the Airbyte UI.
User AssociationApplications created via the settings page are associated with the user you log in as. That means the user you're logged in as when you create an Application dictates what permissions you'll have when interacting with the Airbyte API once you've generated your access token and are using it to make requests.
- Once logged into the Airbyte UI, go to Settings -> Account -> Applications.

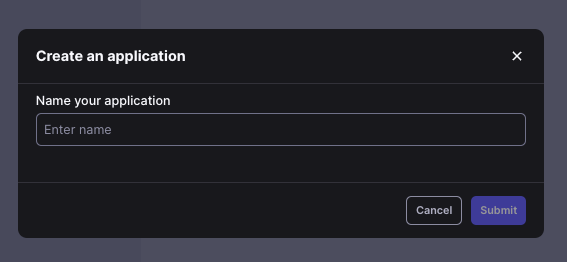
- Click "Create an application".
- Name your application.
- The Application that is created will give you a
Client IDandClient Secret. TheClient Secretcan be exposed by clicking on the icon next to the secret. - Click
Generate Access Tokento create an access token. This can be used to do a quick test. You can alternatively use theclient_idandclient_secretto retrieve an access token using the/v1/applications/tokenendpoint.

Access tokens are short-lived, and are only valid for 3 minutes. We recommend fetching a new token before each request.The Terraform Provider/SDKs properly handle this fetching for you if you initialize the Provider/SDK with the Client Credentials grant type using your Application's
client_idandclient_secret.
Authentication in Self-Managed Enterprise
Airbyte Enterprise users can follow the same instructions as above. The only difference is that the tokens are slightly longer lived (24 hours).
Authentication in Self-Managed Community (OSS)
In Self-Managed Community, authentication is now enabled by default. The same instructions above apply, however only a single application can be created.
If Airbyte was deployed with authentication disabled, the Airbyte API is accessible without any authentication.